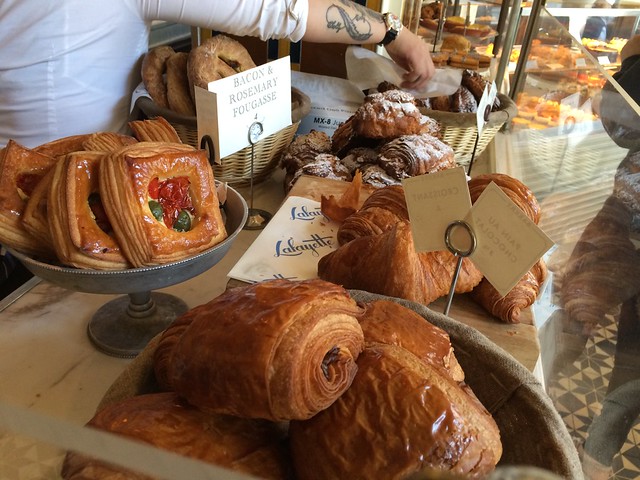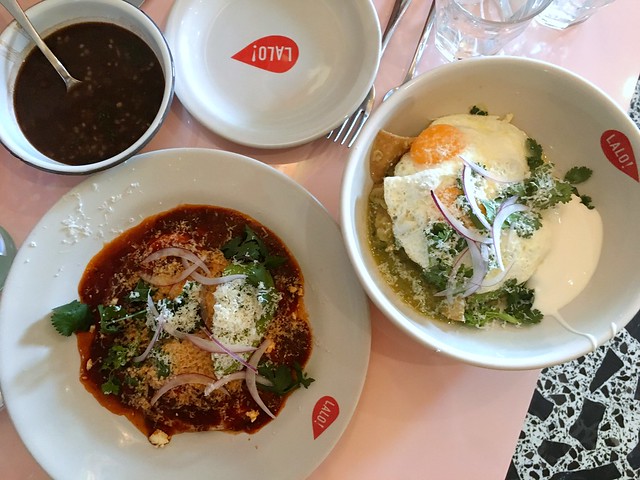
Breakfast at Lalo - Roma Centro - This was our first, and I think best, breaktfast in CDMX - chilaquiles (verde) and huevos rancheros served with a bowl of soupy black beans. The eggs were the tell-tale deep orange of pastured eggs, always a good sign. Lalo is a casual daytime place by the people behind Maximo, a great upscale French bistro across the street which we also enjoyed a couple of days later. We had good coffee here too - the only downer was the stale croissant - hopefully a one off - but I didn't get the impression that baked goods are their strong suit. (There's a better place for those - Panaderia Rosetta - see below.) Bonus points for great design and service.
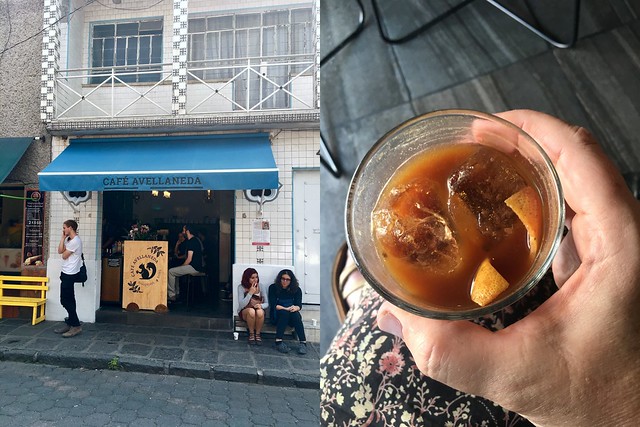
Coffee at Cafe Avellaneda - Coyoacan - I'm pretty much ready to move to Coyoacan just to be closer to this place. It's that good. We found it looking for a spot for coffee before the Frida Kahlo museum, which is a short walk away. We loved it so much that we went back on our last day. Its a tiny jewel-box of a spot tucked away on a side street. They have a small bar and a bench along the wall. If you sit there, they bring your coffee on a tray, with a glass of water and a little cookie on a little pottery plate. It's just perfect. They also feature delicious coffee cocktails - above is the Juanito, espresso, tonic water and tamarind extract with a twist of orange rind - and a small but perfect selection of baked goods under a glass dome on the counter (I recommend the almond cake) They also sell their coffee beans by the pound. If you go, will you bring me some?? Please??
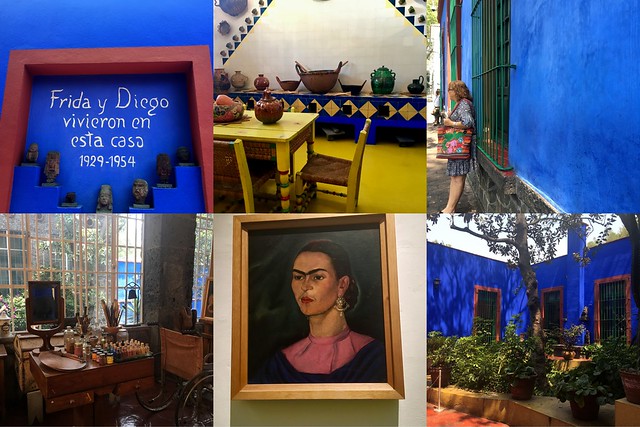
The Frida Kahlo House (Casa Azul) - Coyoacan - This was at the absolute top of my list and it lived up to all of my expectations. There is some, but not a lot of her artwork here - it is really about the house and her life. The larger and better collections of paintings are at the Diego Rivera and Dolores Olmedo museums, which we did not get to on this trip. We did not do the audio tour, but I would (will) probably go ahead and spring for it next time - I had already checked my bag at the door so I wasn't able to pay the fee for a photo permit - it's only 30 pesos. I was able to sneak a couple but it would be nice to have more. Definitely buy tickets in advance online. We went on a late weekday morning and were able to skip the very long line because we had already purchased our tickets. My favorite part was the exhibit of her dresses and clothing - including some of her casts and prosthetics - it was housed in a separate area so I'm not sure if it's a permanent exhibit but it is well worth seeing. While you're at the Casa Azul be sure to head over to the town square of Coyacan just a few blocks away, and visit the Coyoacan handicrafts markets - there are two, and they both have a great selection of clothes, baskets huaraches, textiles, etc. at good prices. On Sundays (and probably other days as well) they also have great street vendors, and you can get fantastic churros at Churreria General de Republica. There is also a great little Antojitos market near Cafe Avellaneda, where we had some fab tostadas after our second visit.
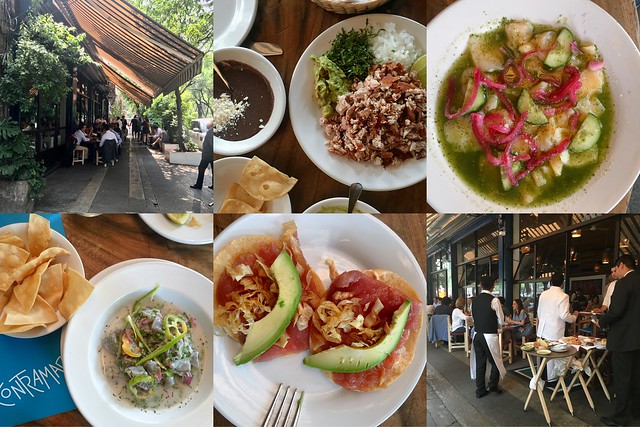
Lunch at Contramar - Condesa - Contramar is a bustling spot and was absolutely packed when we arrived with no reservation at 3 PM on Thursday afternoon - prime comida time. They told us it would be an hour wait, we said we'd stick it out, and it turned out to be more like 15 minutes. I'm not sure if we were just lucky, but this "show up and agree to wait an hour" strategy worked for us on two other occasions too - every time we got in within about 15-20 minutes. I really liked our meal at Contramar, but I didn't love it as much as I had hoped. Their ahi tostadas (center bottom above) are their most popular dish - and while they were very good, they weren't better than the tostadas in Ensenada at La Guerrerense or other good ceviche spots elsewhere. We liked the ceviche a lot, and the "carnitas de pescada" were fun for a change, but the scallop dish (top right) was a little bland in spite of its startling color and the mayonnaise laden camaron tostadas were cloyingly sweet. A lot of people seem to order the whole fish here, so maybe that's the way to go. I'm including Contramar in this roundup because even though I didn't love our meal, I think it's at least partly because we ordered poorly. It's definitely a happening scene at comida time and people reeallly seem to love it. BTW - they have a "gringo" menu that doesn't have a slot for their daily changing specials - so be sure to ask for those. (They gave us the Spanish one at first, then the gringo one when we asked to see a menu during the meal.)
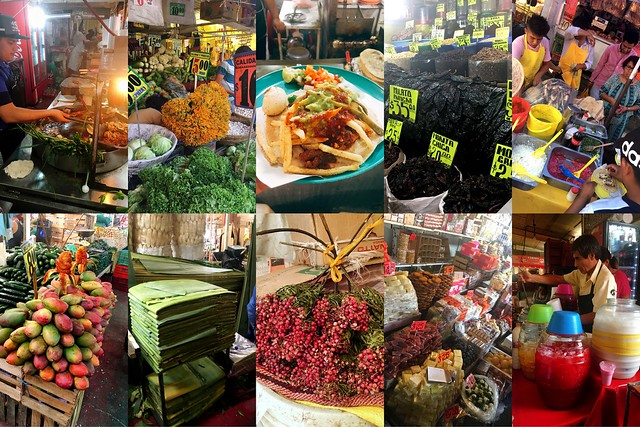
La Merced Market Tour with Eat Mexico Tours: Aside from the Casa Azul, the other advance plan we made before leaving on the trip was a tour of La Merced, the largest and oldest food market in Mexico City. We chose Eat Mexico for this tour and we were really happy with the experience. Our guide, Carla, was incredibly charming, and took the three of us on the tour all over the fruit and vegetable and prepared food sides of the market. Interestingly, she said she would not take us in the meat building because we were an all female group, and she didn't want to subject us to harassment by the butchers. I had heard that street harassment is more of an issue in Mexico than it is in the US, but either we were too old or this didn't prove true, because we certainly didn't notice any. We never felt unsafe anywhere we went, and we walked around quite a bit. As we went through the tour, Carla took us to her favorite stalls and all of our food and beverages were included - we stopped for tacos, aguas frescas, candy, and even a stall selling insects and other delicacies of Mexico. We had some really good nieves (ice cream) on the street, and finished with mezcal served in a poblano pepper and guacamole with chapulines (yes, grasshoppers!) at a nice restaurant nearby. The tour takes about five hours, and I had been a smidge concerned about spending such a large chunk of time at the market, but it was really worthwhile. La Merced is also something you definitely would not want to do without a guide, at least the first time. The place is huge and a total maze and you would have no idea how to find the good stuff once you got inside.
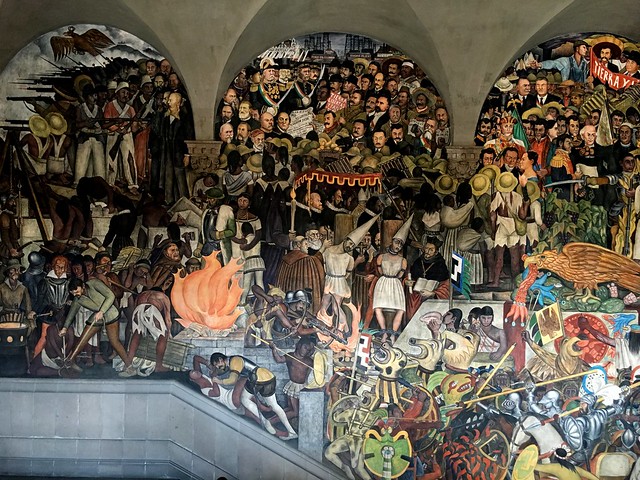
After the tour, since we were close to the city center, we walked over to the Zocalo to see the Cathedral, the Templo Mayor ancient Aztec ruins right next door, and the Diego Rivera Mural at the Palacio Nacional - the History of Mexico. If you go to CDMX - do not miss this mural - it is worth a special trip, and the Palacio Nacional is a lovely oasis of calm within the city. We had a little trouble finding the entrance to the building (a sign maybe would have helped?) but eventually figured it out. The Zocalo itself was a construction site so there wasn't much to look at there, but the balcony bar at the Gran Hotel has a fabulous vantage point and a killer Tiffany stained glass dome in the lobby - like the Palace Hotel in San Francisco - and is worth a stop for a drink.
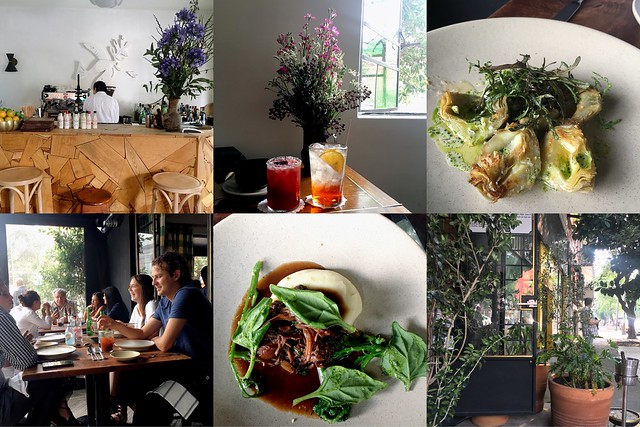
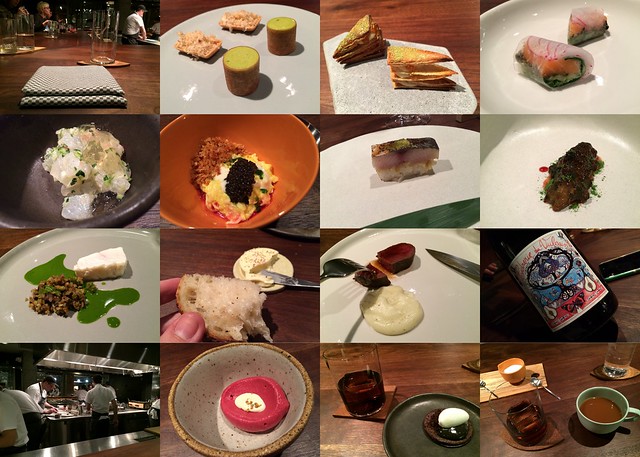
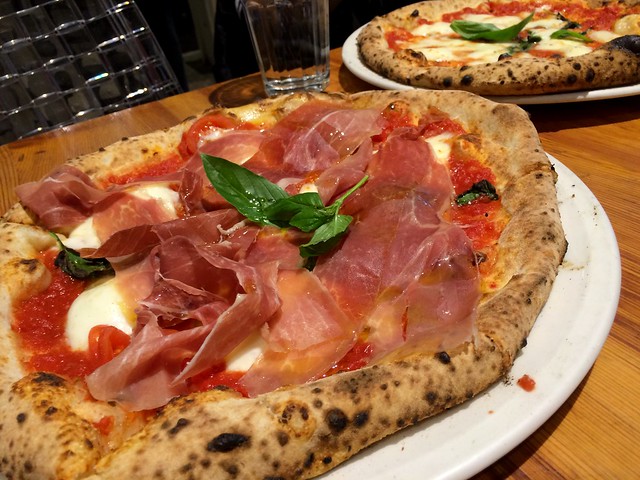
Lunch at Maximo Bistrot - Roma - This was by far my favorite meal of the trip. In fact, it's the best meal I've eaten in recent memory. We arrived at 3 PM on Saturday afternoon and they squeezed us in after a lovely cocktail in the upstairs bar. The restaurant wasn't exactly what I expected - it's described in blog posts and articles as a "French bistro" but it's much more interesting that that. I'd say Mediterranean fine dining maybe. We opted to share two starters, two mains and a bottle of wine Our server very enthusiastically recommended the "Caracol" - which is sea snails, with butter and garlic, plated over a swirl of avocado puree. I've never loved sea snails but these may have changed my mind. They were tender and rich, sparkling with butter, citrus and garlic. The next dish was lightly fried artichoke hearts - served in more garlic and butter but just different enough from the first dish. They brought around hunks of fresh baked sourdough bread and it was all just heavenly with the bottle of dry white wine we ordered. For mains, anytime I see rabbit on the menu I order it, and it was fantastic here - braised and served in a flavorful demi glace. My friend Kris chose fish and was equally pleased.
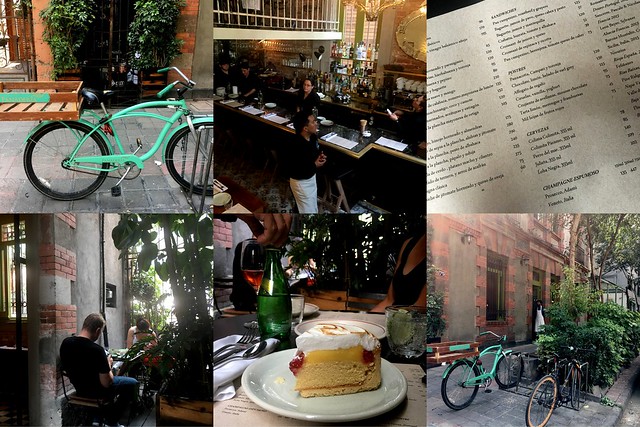
Panaderia Rosetta - Colonia Juarez. There are a few other smaller branches of this bakery cafe sprinkled around including one in Condesa and Roma. We popped in for a bite on the afternoon of our last day in CDMX - I opted for the lemon meringue cake pictured above, which was better than I dared expect - and Kris had a savory snack of appetizers and salads. Everything was just "so" and if I were to return to Mexico City (and I am fairly certain I will) I would seriously consider staying in the Air BNB that is literally right upstairs just for easy access to their coffee and pastries in the morning. The Juarez area was lovely, with tree-lined streets and an upscale residential feel to it I'm sure they're very busy in the morning but in the afternoon it was nice and peaceful.
For more photos, click here.